
Reading time: 9 min.
November 2025 – Japan
It’s been a month since we returned from Japan, and I’m still not ready to write about it. In a way, putting it into words feels like finally admitting the journey is over. 🙂
We experienced things that can hardly be described. What I remember most vividly are those early mornings: waking up before sunrise (yes, me!), counting the hours till 7 when breakfast began, feeling an almost childlike urgency not to miss a single minute indoors. Every day, a world full of wonders awaited.

Blending the full sensory overload of Japan’s big cities with the serenity of its countryside, we found ourselves immersed in a culture unlike any we’d known – one rooted in deep respect for nature, for one another, and showcasing a level of cleanliness and precision that felt almost otherworldly.
Ever since we came back, friends and colleagues have been asking what it was like, what we did, and what we’d recommend. The truth is, Japan has been the most challenging destination we’ve ever planned.
PREPARATION
Preparation is really everything. Focusing on what you can sort out ahead of time will save you a lot of headaches and stress once you’re there. With the right groundwork, all that’s left to do after you land is simply enjoy it. Which is exactly what we did.
Since I’d already put together a pretty solid checklist before our trip, I hope that sharing it here will make your own planning a lot easier. It definitely made our journey feel like a breeze!
WHEN TO VISIT
- Spring (March – May) is mild and sunny, generally considered the best time to visit Japan. It’s the season of the iconic cherry blossoms (sakura), making it the most crowded and expensive time to go.
- Summer (June – August) is hot and humid, with frequent rainfall. It’s best for local festivals, beaches, and the only time of the year you can climb Mount Fuji. There are fewer tourists than in spring, but the heat and humidity can be exhausting.
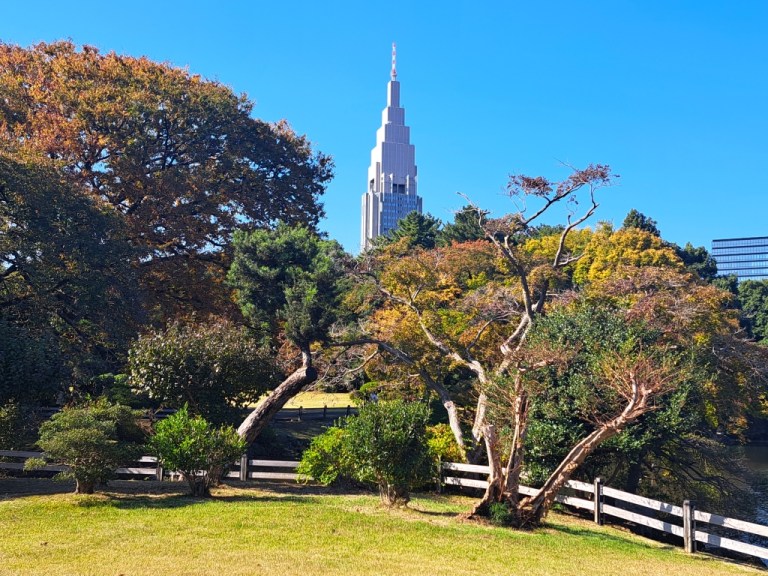
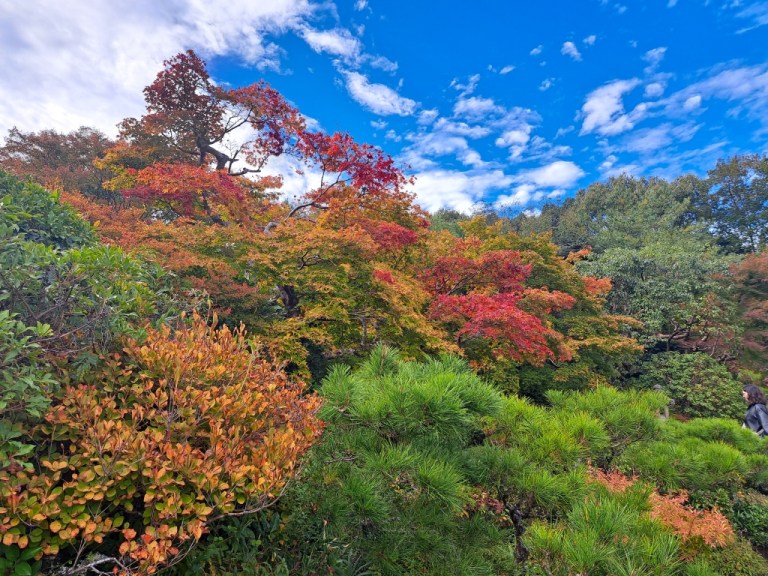
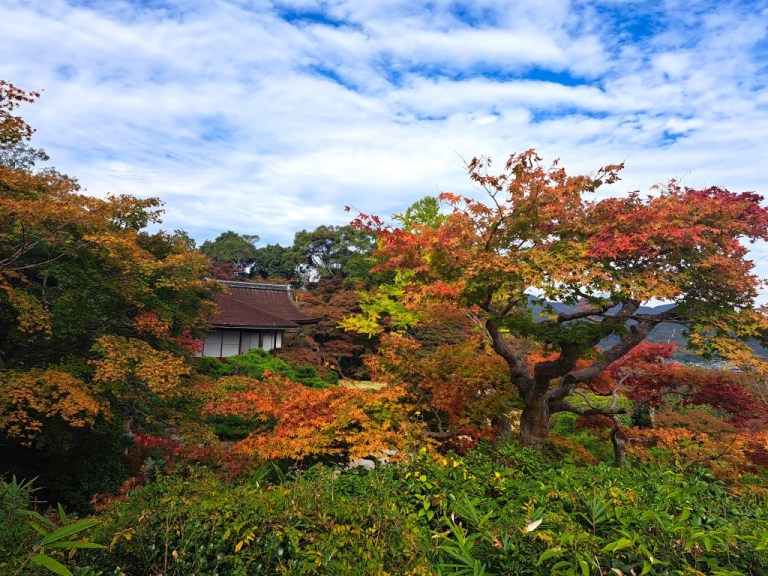
- Autumn (September – November) can still be hot in September, turning cool and dry toward the end. This also coincides with the spectacular fall foliage season. It’s busy, but not as much as spring.
- Winter (December – February) is cold and dry, with potential snow up north. Days are shorter for sightseeing, but it’s less crowded and the cheapest overall for flights and hotels (except New Year).
As you can see, there is never a bad time to go to Japan!
After careful consideration, we chose November for the perfect balance of weather and scenery. With temperatures hovering around 15-20 °C during the day, and down to 8-10 °C at night, the weather was perfect for exploring. Add to that an incredible backdrop of fiery autumn colors, and it felt like we made the best choice for what we were looking for.

VISA
Before booking your flights, you should check the visa requirements. For short-term stays, Japan has reciprocal visa-exemption arrangements with 70+ countries. With our EU passport, we didn’t need a visa.
ITINERARY
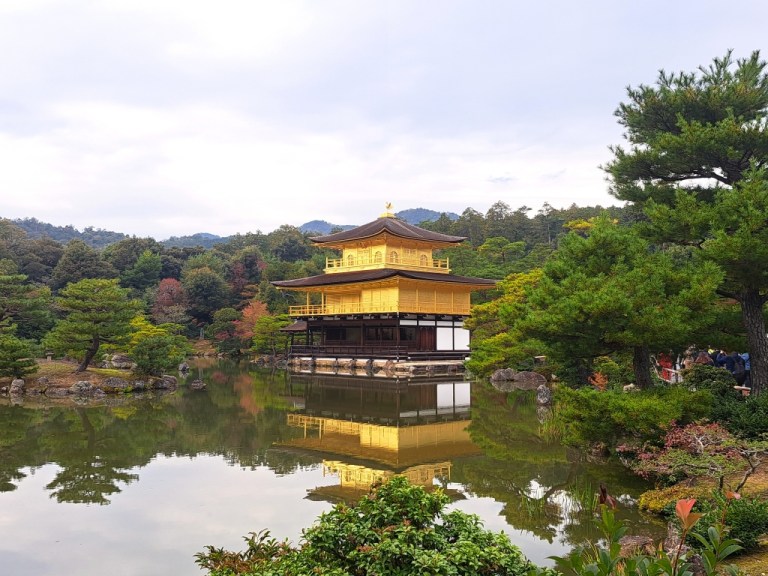
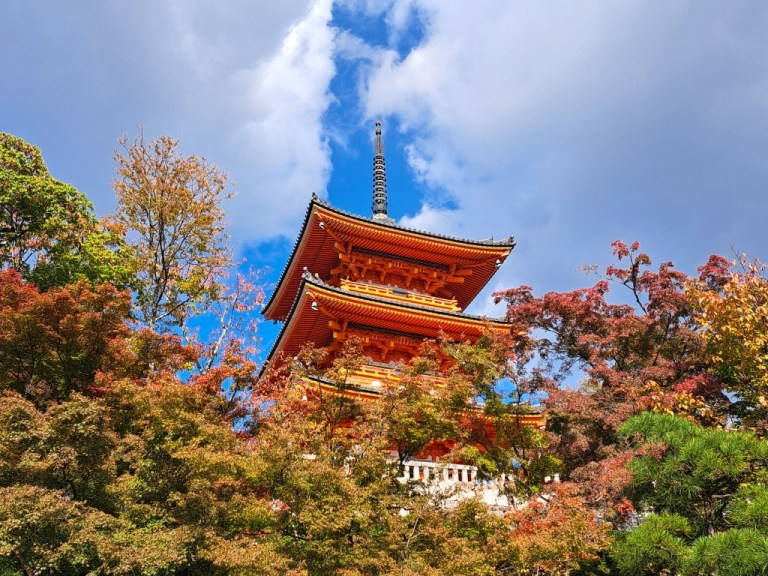
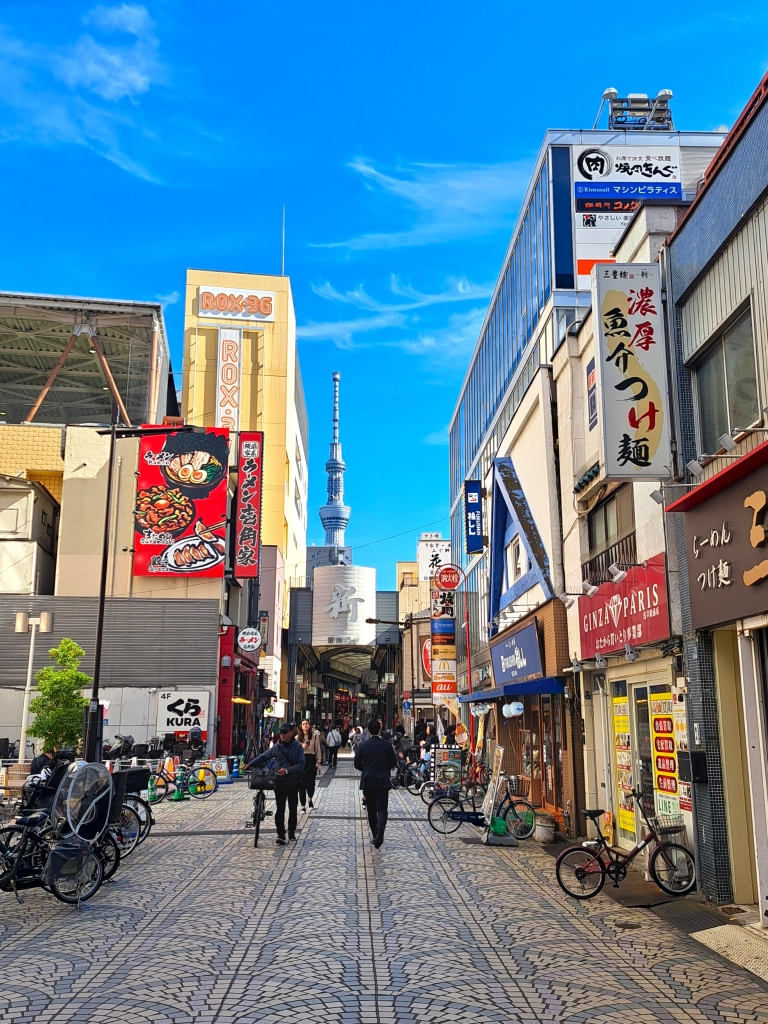
Once you’ve settled on your travel dates and checked the visa requirements, the next step is shaping an itinerary that fits the length of your stay. The most common route is Tokyo – Kyoto – Osaka – Hiroshima. Many travelers start with Tokyo’s electric cityscapes, continue with Kyoto’s serene temples, savor Osaka’s food scene, then head to Hiroshima for a reflective encounter with history.
Give yourself at least two weeks to avoid feeling rushed.

FLIGHTS & TRAVEL INSURANCE
We’re definitely not fans of long flights, yet multiple stopovers aren’t our thing either. So the direct 13.5-hour KLM flight from Amsterdam to Tokyo solved our dilemma. Pretty neat, right?
Never underestimate the value of travel insurance. After dealing with more than one medical incident in South America a few years back, it’s become a non‑negotiable for us whenever we travel outside Europe. This time, we booked our coverage with Allianz at the same time we purchased the flights.

BOOKING ACCOMMODATION
Where did we actually stay? We decided to skip the full route, slow down and focus on experiences.
- Instead of bouncing around the whole country, we first set up camp in Tokyo. Here we dived into all major attractions like there was no tomorrow, then zipped off on a day trip to Mount Fuji.
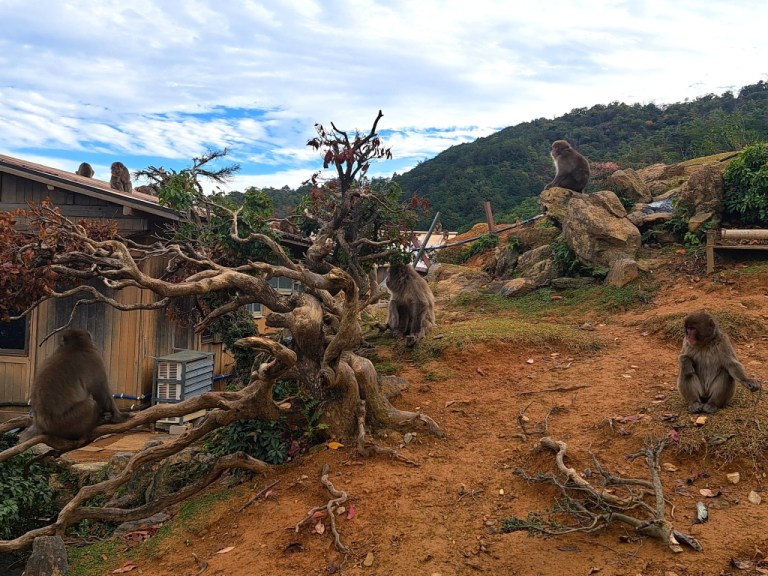
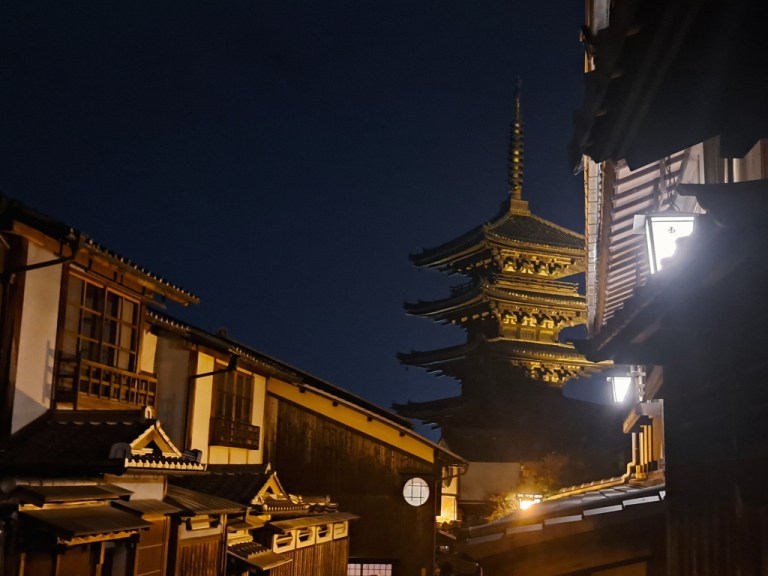
- Next, we settled into Kyoto and its surroundings wrapped in amazing autumnal colors, and took a hop over to Nara to greet the deer.
- Finally, we looped back to Tokyo for one last dose of the city buzz before flying home.
In the end, we realized we didn’t need a complicated itinerary to feel the pulse of Japan: Tokyo – Kyoto – Tokyo. Two bases (one week each), endless adventures.
Keep in mind that booking too far in advance is not always the bargain you’d expect. I reserved the hotels six months ahead, only to discover – when checking Booking.com closer to our travel dates – that prices had actually dropped below what I reserved. And with the Japanese Yen fluctuating, the exchange rate can shift your budget even more than the hotel deals themselves.
So here’s my advice: unless you’re booking last‑minute, choose free cancellation. It gives you the freedom to re-book if prices fall or the currency suddenly swings in your favor.


CARDS/CASH
Make sure you’re carrying at least a Visa or Mastercard for broad coverage outside Europe. Japan is surprisingly cash‑based, especially once you step outside the major cities. So it’s smart to keep some Yen on hand for temples, small restaurants, street food, souvenir shops, or topping up your transport card.
We relied mostly on Revolut for card payments, and for cash withdrawals the most convenient choice turned out to be the Seven Bank ATMs inside 7‑Eleven stores.
POWER PLUG ADAPTER
Japan uses type A and B power outlets (the two flat parallel pins) and operates on 100 V, which is lower than Europe or the US. Some hotels offer a European outlet, but don’t count on it. You’ll need a travel adapter for your everyday devices (phone, laptop), and a power converter for high power devices (like a hair dryer).
Since we only needed to charge our phones, we bought a universal power adapter like this one before flying to Japan. If you don’t have one, no worries. You can easily buy travel adapters at convenience stores or electronics shops throughout Japan. Ours worked like a charm. It’s now officially part of our standard packing list for any trip outside Europe!

SIM/MOBILE DATA
This topic was a research project of its own. In short, there are three ways to have mobile data in Japan, with multiple providers and data plans (Mobal, SoftBank, Sakura Mobile, Japan Wireless, Ninja Wifi).
Mobile Data Options – Comparison
- eSIM (virtual SIM) – easiest for most travelers
- Physical SIM – good if your phone doesn’t support eSIM
- Pocket Wifi – good for groups
Mobile Data Options – Practical Advice
- For both eSIM and physical SIM, make sure that your phone is unlocked (try a SIM from another provider or just check with your home data provider before you leave).
- In my opinion, the eSIM is the easiest way nowadays for instant connectivity when you travel. You purchase and install it in advance with a QR code, and just enable it at your destination. Not all phones are configured for it though, especially older models. So check your phone specifications in advance.
- The pocket Wifi is good for multiple devices, groups and if you travel together at all times.
- To order a physical SIM or a pocket Wifi, you need to do it in advance from one of the providers’ websites, and pick it up at the airport together with the setup instructions. Otherwise, you can also find SIMs at vending machines in the airport and electronics stores all over Japan.
In conclusion: we bought an eSIM from Airalo, and a physical SIM from Mobal (they also ship internationally, so I had my Japanese SIM before taking off). Both worked flawlessly.
TRANSPORTATION
Prepaid IC Card
If there is one single thing you need to know about public transportation in Japan, it’s the prepaid Suica card (also known as Pasmo, Icoca or other equivalents depending on the city you land in).
- You can buy it at vending machines at the airport near the JR travel office, and tap it at metro stations or 7-Eleven stores.
- It works interchangeably on train, metro and buses all over Japan.
- IPhone holders can also use the Suica app; Android users can only rely on the physical card.
- For express trains (like the fast ones connecting the airport to the city), you still need a separate express/seat ticket in addition to the base fare covered by Suica.
Traveling Between Major Cities
Another aspect is deciding how to move between cities.
- Japan Rail Pass can be an option for unlimited train travel across Japan (it wasn’t worth buying for us).
- You can use a Rail Pass calculator, to check if it pays off based on your itinerary.
Shinkansen (Bullet Train)
The absolute highlight of traveling in Japan is the famous Shinkansen. Leaving from Tokyo, we covered the 500 km to Kyoto in a memorable two-hour journey. It was so fast that i couldn’t even look out the window. 🙂
- We were flexible for the hour of departure, so we purchased tickets from the vending machines and Shinkansen offices inside central stations of Tokyo and Kyoto.
- If you want a specific day and time, especially in peak season, booking in advance is recommended on the official page.
Navigation
For everyday needs, we found Google Maps incredibly reliable and precise. The suggested route included not only local line name, exact time of travel and stops, but also color codes identical to the ones in the station, the platform number and nearest exit names, which proved to be crucial. I’m happy to report that we made it through without a single wrong turn. 🙂

BOOKING ACTIVITIES
We wanted to be flexible throughout the whole trip, but at the same time we knew we have to book in advance what was a must. Before the trip, I reserved via GetYourGuide:
- Mount Fuji Day Tour from Tokyo
- Night Walking Tour in Geisha District in Kyoto
- Calligraphy Class at a Buddhist Temple in Kyoto
For Fuji, it’s impossible to predict the visibility on a chosen date, but seeing it in person was our absolute dream. I’ll let you guess what happened… until the next story! 🙂
If there’s one other place I’d recommend booking well in advance, it’s the teamLab experience. For teamLab Planets Tokyo, i was lucky to secure a slot three days ahead. But the newly opened teamLab Biovortex Kyoto was a different story, I couldn’t get tickets even weeks before – probably because it had launched right before we arrived.
Lesson learned: book ahead what you absolutely want to do. Other than the already mentioned attractions, everything else we booked on the spot or the day before.


IMMIGRATION CHECKPOINT
Immigration papers are distributed in the plane to fill out before landing (have a pen with you). Keep the details of your first accommodation close – name, address, phone number – as they will be needed in the form.
We wanted to get this done early, so filled in the same information online before departure on Visit Japan Web (ideally 2 weeks in advance). You’ll get a QR code for each traveler. Make a screen shot and have it ready for the immigration process.
Entering Japan was seamless, just as the whole trip turned out to be. 🙂
CHECKLIST AFTER LANDING
- Activate eSIM/SIM
- Cash withdrawal (around 30 000 Yen/170 EUR is good enough for the first days)
- Buy a Welcome Suica card
BUDGET
- Flights: 2300 EUR
- Travel insurance: 130 EUR
- Mobile data: 22 EUR (eSIM plan 20 GB for 30 days) + 34 EUR (SIM plan 50 GB for 16 days)
- Accommodation: 1800 EUR
- Public transportation: 100 EUR Suica top-up + 320 EUR Shinkansen tickets
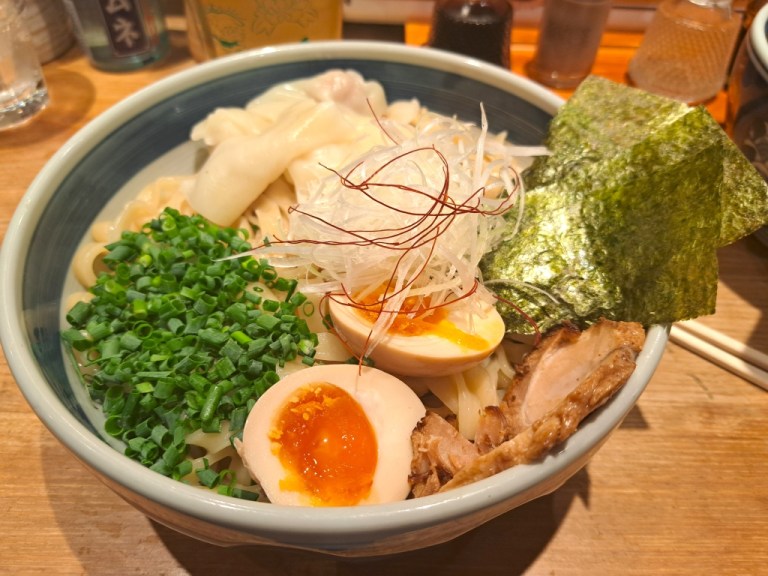
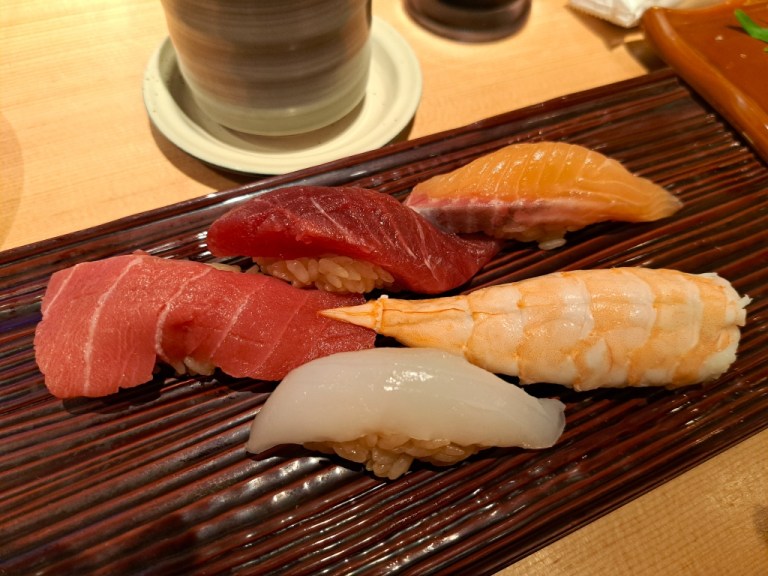
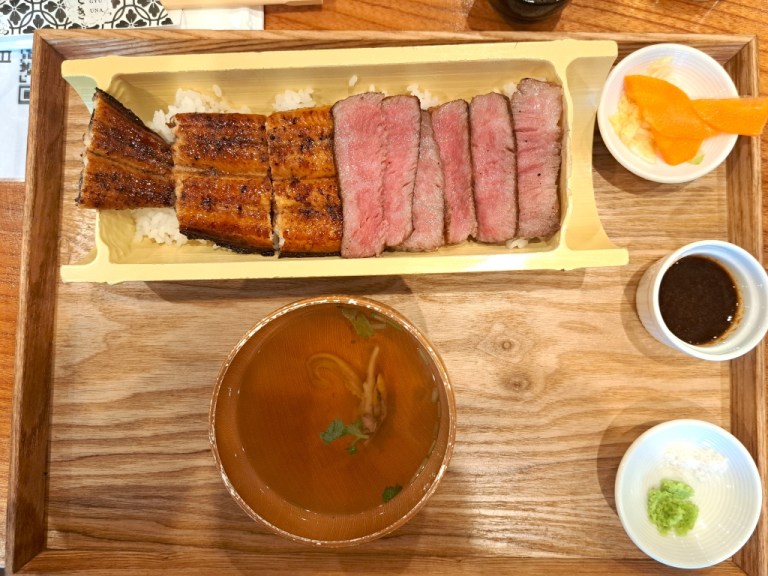
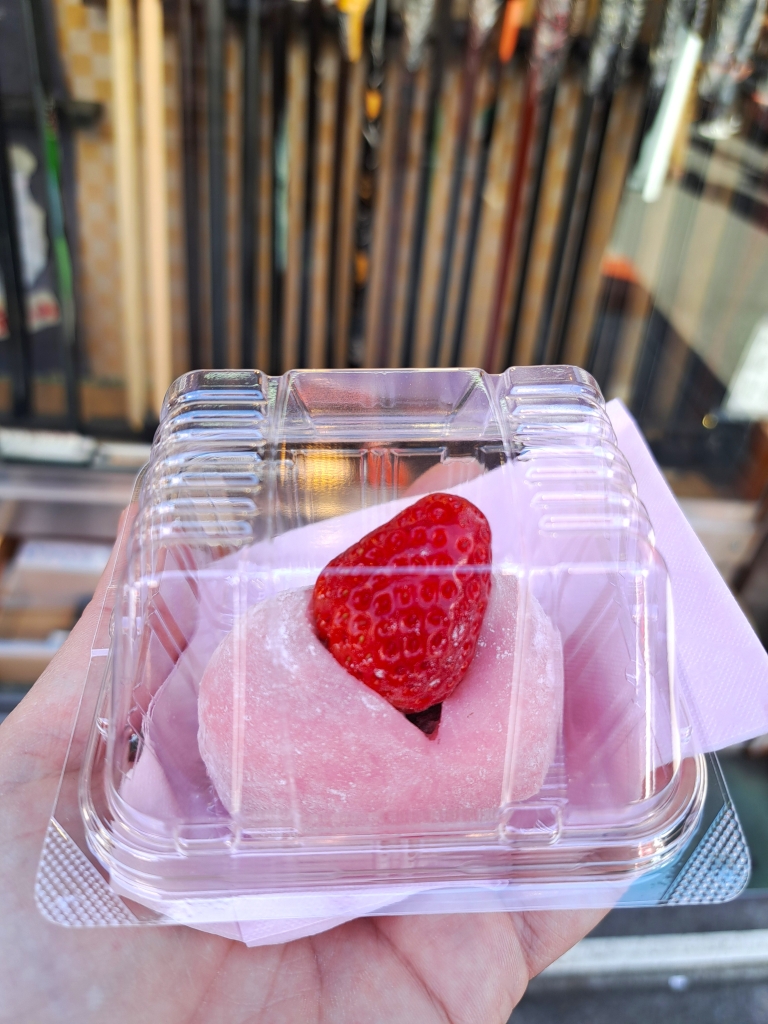
- Food: 550 EUR
- Tours/museums/activities: 500 EUR
- Souvenirs: 250 EUR
*for 15 days/2 pers.
This is just the pre-trip preparation – the warm up. We packed in so many adventures, that the real fun begins in the next stories. For now, one thing is certain. The most common question in our home these days is: “When are we going back to Japan?!” 🙂 And i hope that 2026 has the answer.
Here’s to new adventures, and to memories that linger long after the journey ends.
Happy New Year! 🎉

2 thoughts on “Essential Japan Travel Tips for First‑Timers: How to Plan Your Dream Trip”